Within EMMA you will find three different levels of menus in which you can perform a general configuration, access the different sections of EMMA or apply specific filters to the data displayed in certain sections.
These three menus that make up EMMA are:
- Supra main menú
- Main menú
- Filter menu
Next we will see in more detail each one of them and the type of actions that can be carried out.
¶ Main menu above
The main supra menu is the menu where we can select our app, apply date ranges and access the general account and app settings menu.

From this menu we can select, for the EMMA sections in which it applies such as Executive Summary or Facilities, how we want the data displayed to be grouped. We can choose between the options days, weeks or months.
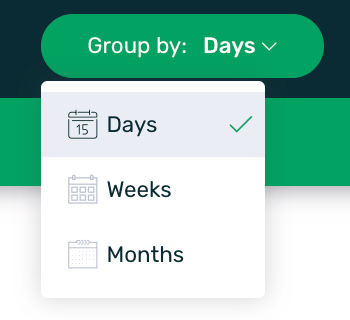
Depending on the grouping selected, the graph data will be displayed broken down by day, week or month.
In addition, this menu is also where we set the date range for which EMMA is returning data. This value affects the data displayed in any section of EMMA. By default, EMMA displays data for the last 7 days, but we can set other date ranges according to our needs among those available:
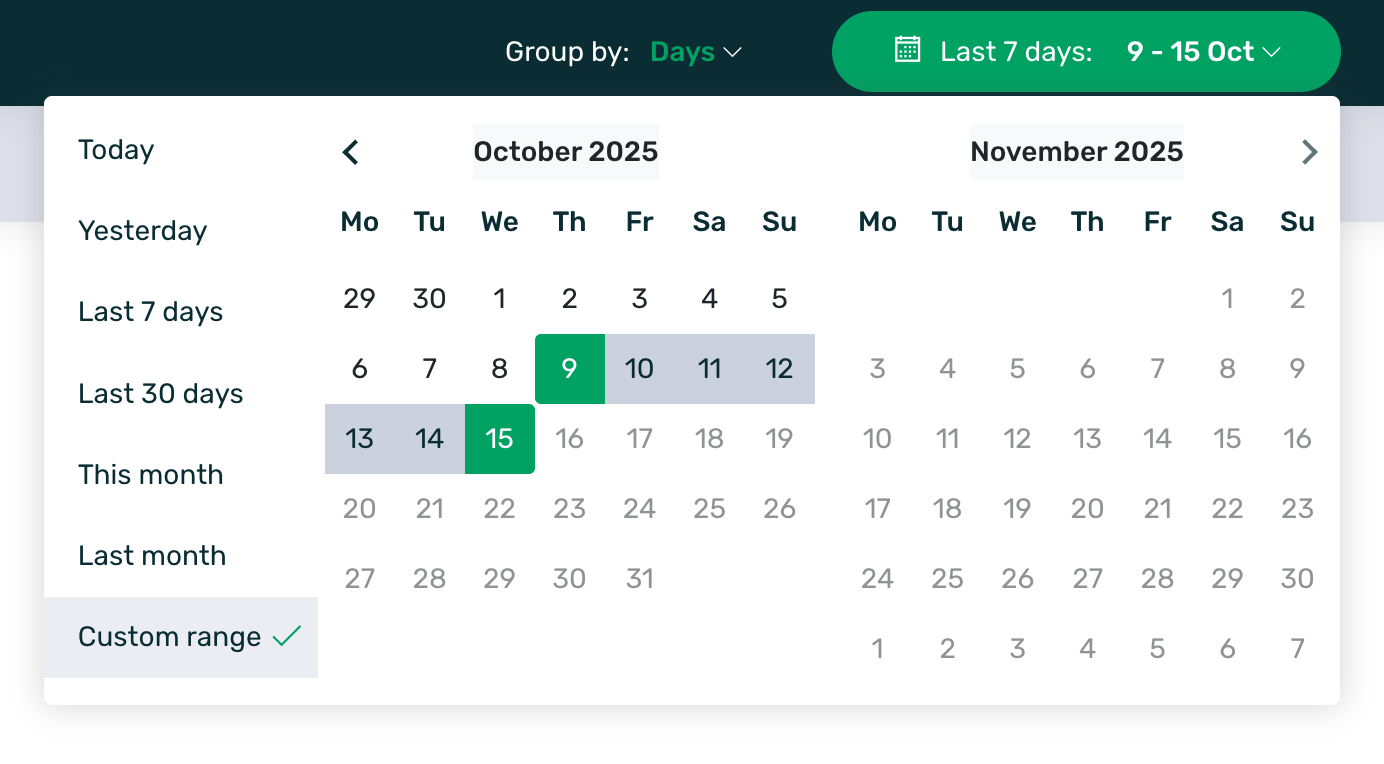
- Today: EMMA displays data for the current day.
- Yesterday: EMMA displays data from yesterday.
- Last 7 days: EMMA displays data for the last 7 days since the current day.
- Last 30 days: EMMA displays data for the last 30 days since the current day.
- Last month: EMMA displays data for the calendar month immediately preceding the current month.
- This month: EMMA displays data for the current month.
- Custom range: EMMA shows data for the selected date range, it can be a specific day, a week, 15 days or 1 month and 3 days. In case there is a date limit when displaying data, the dashboard will warn of this limit.
Finally, from this menu, we have access to the different sections of the account and app configuration by clicking on the user name shown at the end of this menu.
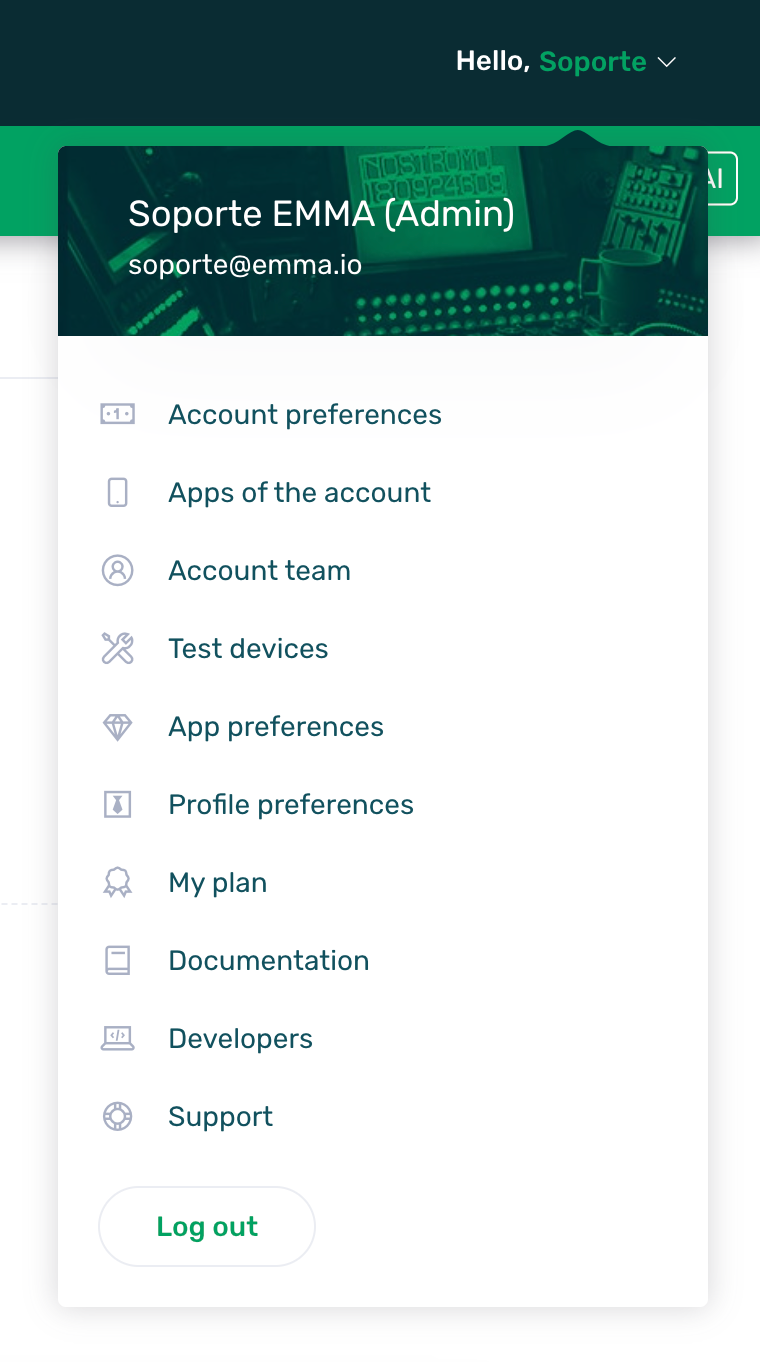
You can see more details about each of the options that compose this configuration menu from this guide.
¶ Main menu
The main menu is the menu to access the different sections and functionalities that make up the EMMA dashboard.

From this menu we can access the following sections:
- General:
- Acquisition:
- Behavior:
- Communication:
- Management:
You can see more detailed information about each of the sections by clicking on them.
¶ Filter menu
The last menu that makes up EMMA is the filter menu. You can identify this menu by its grayish color. This menu is not available for all sections of EMMA.

Depending on the EMMA section we are in, there will be some filters applied by default and we will be able to apply specific filters related to the section we are in.
¶ Filters in Acquisition > Assisted installs
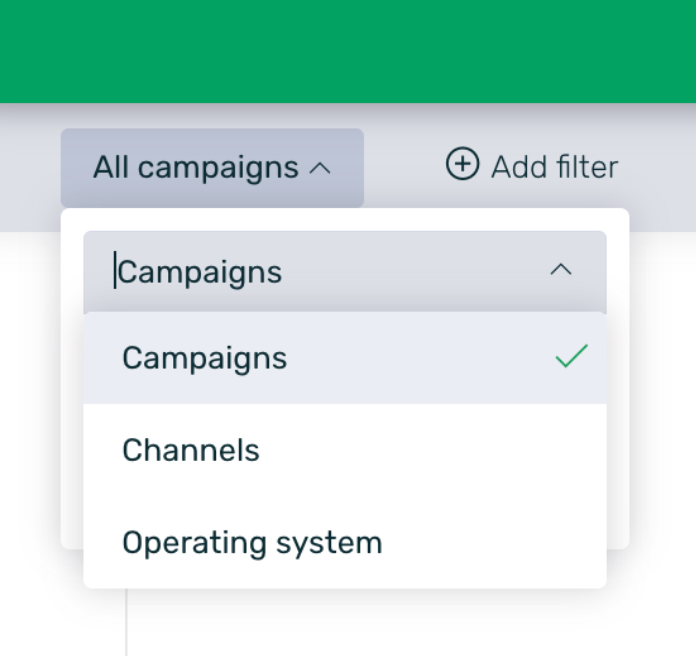
This screen features three main filters that allow you to segment the information according to your needs and gain a more accurate view of the data. In addition, the displayed results will be conditioned by the selected date range as well as by the applied grouping.
-
Campaigns: Select one or more specific campaigns. When this filter is applied, only data related to the selected campaigns will be displayed.
-
Channels: Allows you to select one or more acquisition channels. The data will automatically update to reflect only the selected channels.
-
Operating System: Filters the data by operating system (e.g., iOS or Android). This option lets you compare results between platforms or focus on a single one.
Filters and groupings can be combined with each other. In other words, you can apply multiple filters and groupings simultaneously to obtain the desired information.
¶ Filters in Acquisition > Apptracker
In EMMA’s Apptracker section, several default groupings/filters are applied:
![]()
- Grouping by campaigns or channels: By default, the view is grouped by campaigns, meaning all campaigns will be displayed by their name. However, you can switch to grouping by channels, in which case the information will be shown based on the different established channels. Learn more about creating and linking channels here.
The channel grouping view is read-only. To edit or create new campaigns/sources, you must do so from the campaign grouping view.
-
Filter for all campaigns or favorite campaigns: By default, information for all campaigns is displayed, but you can change the filter to show only those campaigns that have been previously marked as favorites. Learn more about marking campaigns as favorites here.
-
Filter for basic campaigns or retargeting campaigns: This is a fixed and mandatory filter that, by default, displays Basic (acquisition) campaigns. You can switch it to Retargeting to show only that type of campaign or select both options at the same time to view all data at a glance. More detailed information on the attribution models available in EMMA can be found here.
In addition to the default filters/groupings, you can add two extra filters by clicking the + Add filter button:
- Countries: Select from the list of available countries so EMMA displays data based on your filter.
- Operating system: Select either Android or iOS so EMMA displays data based on your filter.
Filters and groupings can be combined with each other, meaning you can apply multiple filters and groupings simultaneously to obtain the desired information.
¶ Filters in Acquisition > SKAN perspective
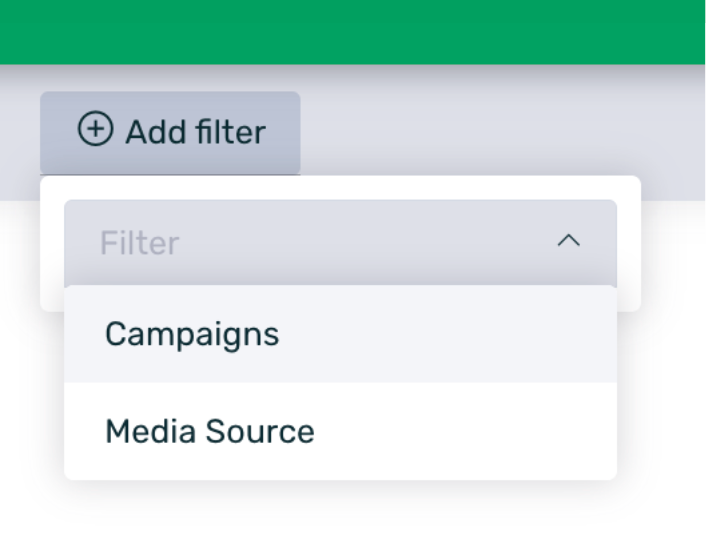
The SKAN Overview screen includes two main filters that allow you to segment the data by campaigns and media sources. These filters help focus the analysis without altering or limiting each other’s results.
-
Campaigns: Allows you to select one or more active SKAdNetwork campaigns. Once applied, the data will update to reflect only the selected campaigns.
-
Media Source: Allows you to select one or more media sources (e.g., TikTok, Meta, Google, etc.). This filter can be used in combination with the campaign filter, but the available options are not limited by what has been previously selected.
The filters on this screen are independent from each other. This means that applying one does not limit or affect the information available in the other.
¶ Filters in Acquisition > Short links
This screen features six filters that allow you to refine the displayed information and analyze short links with the level of detail you need. As in other sections, the data will be conditioned by the selected date range.

-
Campaigns: Allows you to select one or more campaigns. When applied, only data from short links associated with the selected campaigns will be displayed.
-
Subcampaigns: Filters by one or more subcampaigns to show only the information related to them.
-
Countries: Restricts the data to one or more countries, based on the location recorded in interactions with the short links.
-
Operating System: Displays only data from short links accessed from the selected operating system (e.g., iOS or Android).
-
Languages: Filters by the language configured on the user’s device, allowing you to analyze performance by audience language.
-
Referrals: Allows filtering based on the referral associated with the short link, useful for quickly identifying links with a specific origin.
¶ Filters in Behavior > People
In the People section, there is a simple filter for Active Users or Inactive Users.
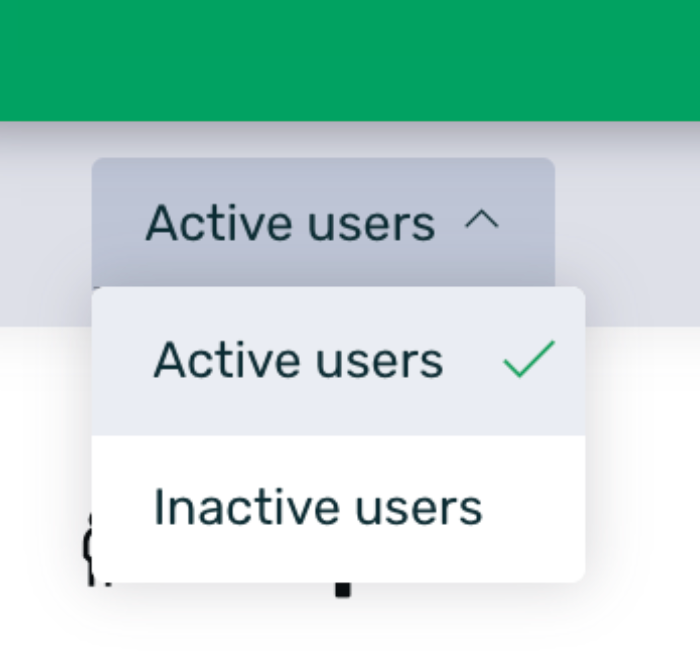
By default, the selected option is Active Users, but you can switch to the option that best fits the data analysis you want to perform.
-
Active users: Selecting this filter will show EMMA the active devices—those that have performed activity on the day of the query and are considered active.
-
Inactive users: Selecting this filter will show EMMA all devices that have installed the app—that is, the entire database.
¶ Filters in Behavior > Funnels
In the funnels section we have a simple filtering by operating system.
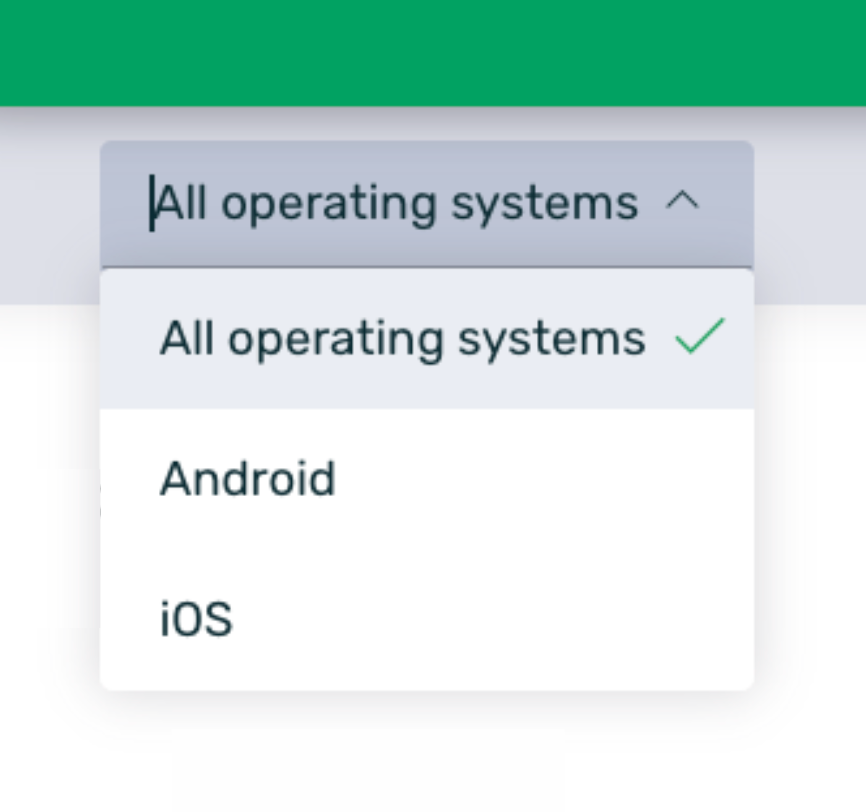
By default the selected option is "All operating systems" so in this section by default EMMA shows joint data from both OS, but we can change the selection between:
- Android: Select this option to view data only from Android devices.
- iOS: Select this option to view data only from iOS devices.
¶ Filters in Behavior > Audiences
In the Audiences section we also have this filter menu. In this case, the filters that we can apply are the following:
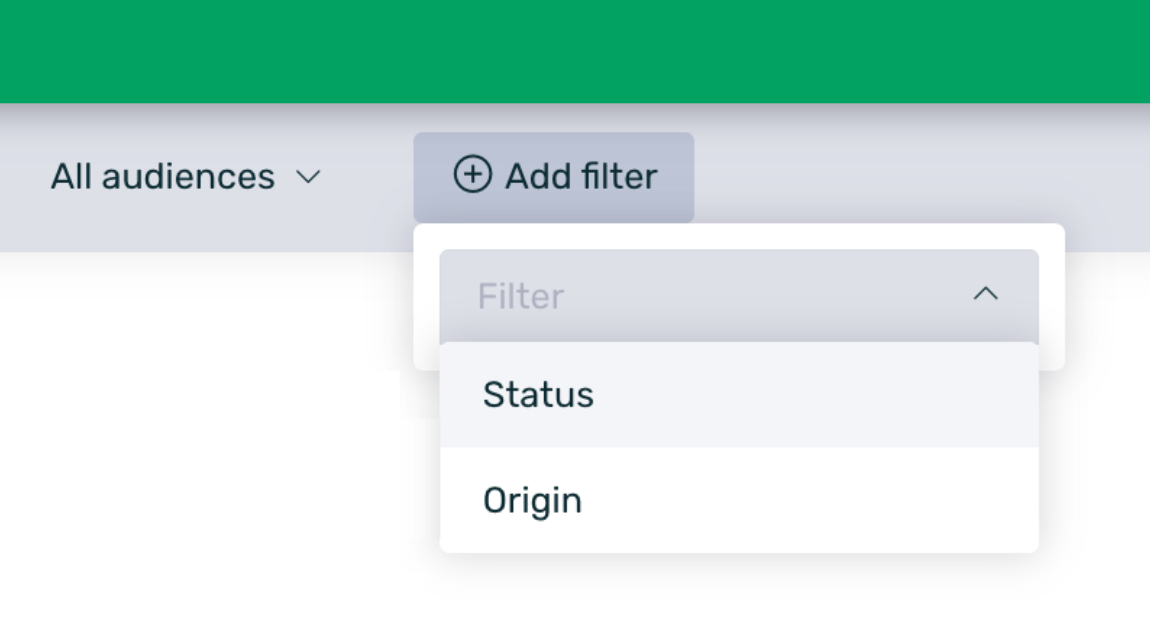
- All audiences: this is the default filter and returns all existing audiences for the app. If we select the option "My audiences" we will see only the audiences we have created.
- Status: Filters the audiences according to their current status (New, In progress, Ready, Error, Inactive).
- Type: Select the audience type from the following options:
- CSV (dynamic)
- CSV (static)
- FTP/SFTP
- EMMA Segment
- External source
- HTTPS
- Performance report
- S3
You can find more information about each source here.
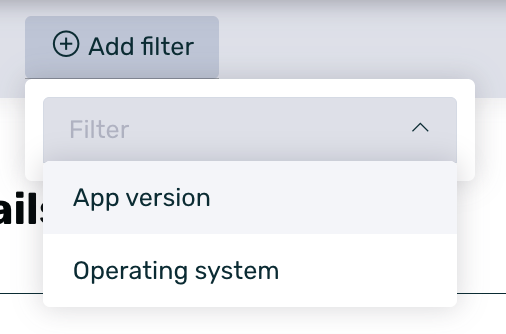
¶ Filters in Behavior > Events detail
The available filters on this screen are as follows:
-
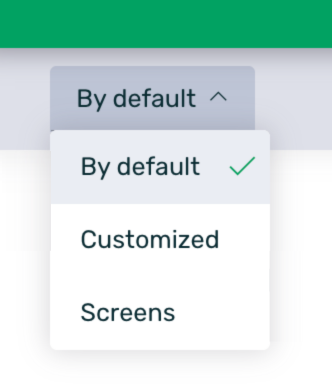
Customized: This is the default filter and returns all the custom events that have been implemented in the app. It can be switched to the By Default option to view information about the default events implemented in the app. You can find more information about events here.
-
App Version: Allows you to select the specific app version for which you want to view the information. It is a multi-select filter, so you can choose a single version or several, depending on your specific needs at the time.
-
Operating System: Allows you to select the operating system from which you want to obtain the information. This is also a multi-select filter, so you can choose one or more options.
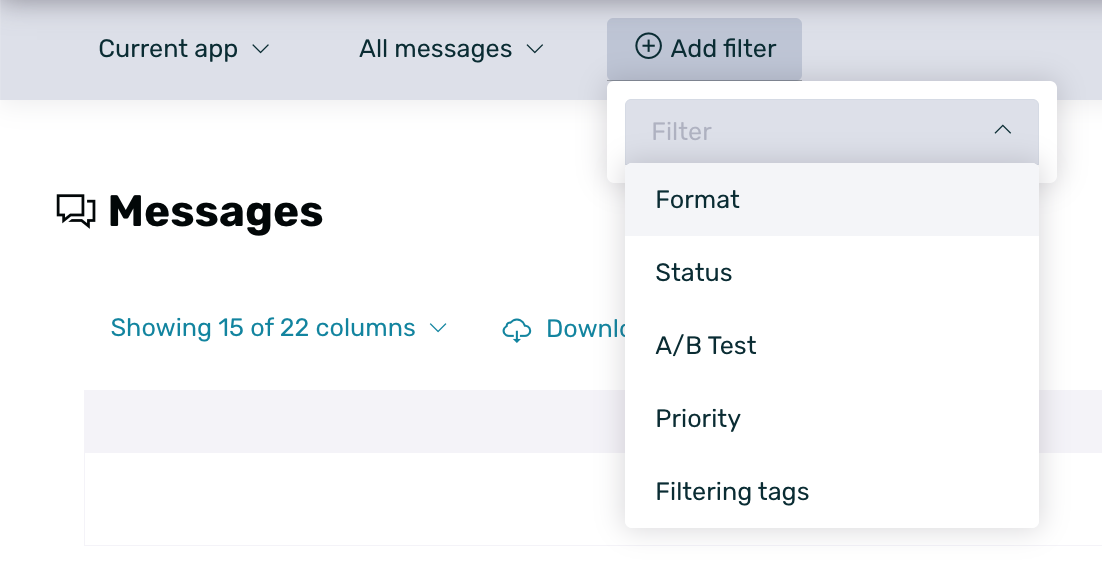
¶ Filters in Communication > Messages
In the Messages section you can apply filters so that EMMA will return one or another communication depending on the filters you have applied.
- Current application: This is a default filter. It can be changed to "All applications". Depending on the selected option it will show only the communications that have been created in the current app or the communications of all the applications that are under our account.
- All messages: This is also a default filter. It can be changed to "My messages". Depending on the selected option it will show all communications created in the app, regardless of the user who created them or it will show only the communications created by my user.
- Format: You can select one or several formats among Adball, Banner, Coupon, Dynamic Tab, Email, Native Ad, Push, Prisma, Startview and Strip so that EMMA will return the communications that match the selected format(s).
- Status: you can select one or more communication statuses so that EMMA will return to you communications that are in that particular status. You can select from: Active, Approved, Deleted, Draft, Finished, Paused, In process, Ready, Scheduled, Testing and To validate. You can see more information about the statuses here.
- A/B Test: Filter by those communications that have established A/B Test variations or those that do not. You can see more information about the A/B Test here.
- Priority: You can select one or more pre-established priority levels for your communications.
- Filtering tags: You can filter the message list by applying one or more tags that you previously assigned when creating or editing the message.
¶ Filters in Communication > Communications report
The filters available in the Communications Report section are:
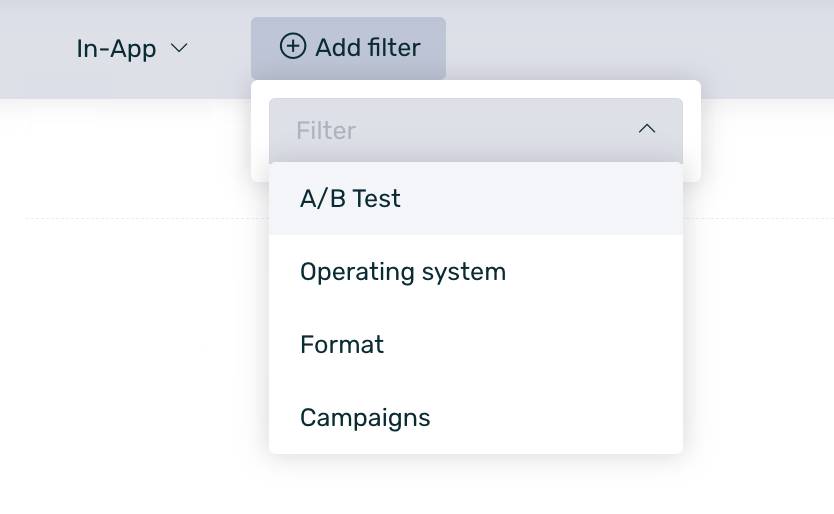
- In-App: By default, the results of In-App communications are shown. But we can change the option to Out-App to show data from Out-App communications.
- A/B Test: Filter by those communications that have established A/B Test variations or by those that do not. You can see more information about A/B Test here.
- Operating System: Select the operating system between Android and iOS for EMMA to display data based on your filter.
- Format: You can select one or several formats between Adball, Banner, Coupon, Dynamic Tab, Email, Native Ad, Push, Prisma, Startview and Strip for EMMA to return the communications that match the selected format(s).
- Campaigns: Select a specific campaign from the existing ones to display data based on this criteria.
All filters can be combined, several can be applied at the same time.
¶ Filters in Communication > Performance report
The filters available in the Communications Report section are:
To help you reach the level of data granularity you need, you have filters that can be combined with each other.

-
Campaign: Select one or more specific campaigns to view only their performance data.
-
Format: Filter by the type of communication format, such as Push, Email, Banner, Adball, Coupon, Dynamic Tab, Native Ad, Startview, Strip, or Prisma.
-
Operative System: Limit the data to iOS or Android users, depending on the platform from which they interacted.
-
App version: View results based on the specific version of your app from which the communication was received.
-
Type of message: Distinguish between In-App and Out-App messages.
-
Campaign type: Filter by the campaign configuration mode: Manual, Automatic with rules, or Automatic by customer journeys.
-
Category: Show only the data from campaigns that belong to the categories you have configured.
-
A/B Test: Restrict the view to communications that have versions set up for A/B testing.
-
Communication parameters: Filter results using custom parameters you have defined in your communications, such as tags, codes, or specific attributes for segmentation.
You can find the full explanation of this screen and its metrics in the Performance Report documentation.
¶ Filters in Communication > Rules
To facilitate the management and visualization of your rules, you may use the status filters located at the top of the screen:
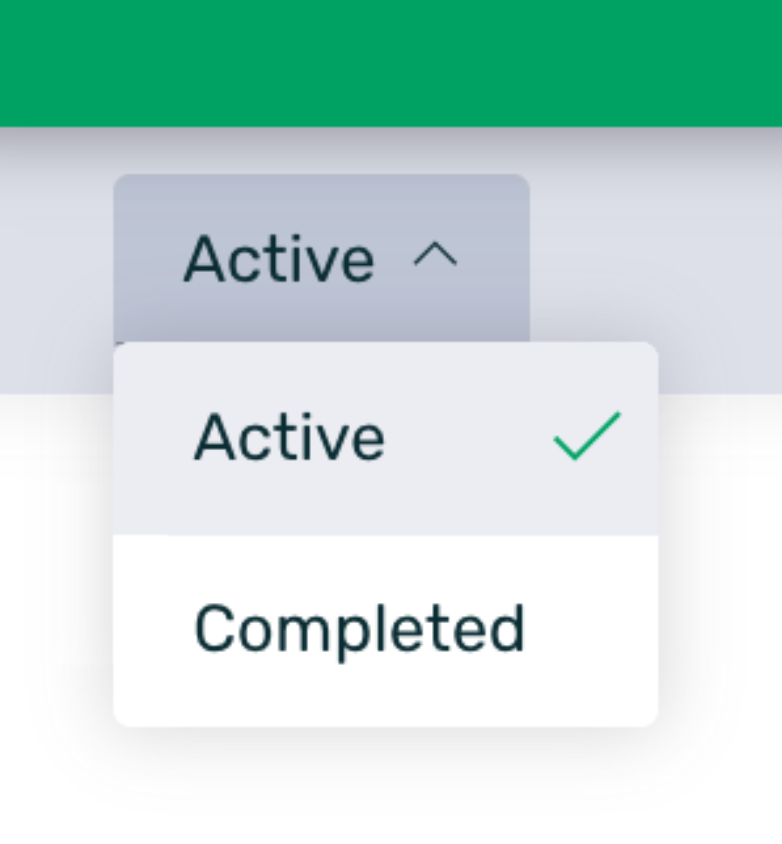
- Active: This filter displays only the rules that are currently active.
- Completed: Select this filter to view rules that have already reached their end date.
¶ Filters in Communication > Customer journeys
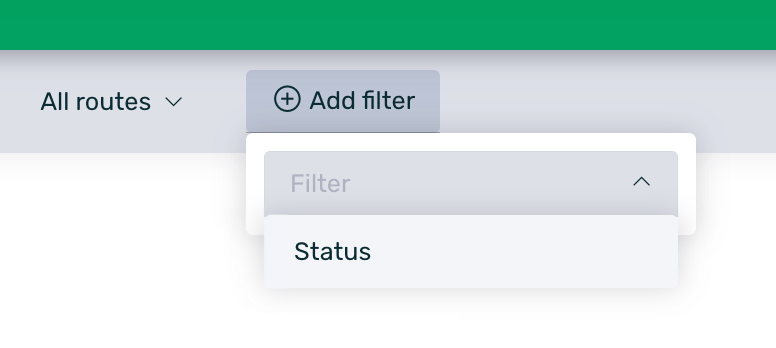
The filters available in customer journeys are:
-
All routes: This is a default filter and returns all routes created. It can be changed to "Custom" so that only routes created by yourself are displayed.
-
Status: Select from the options Draft, In Process, Active or Deleted to filter the routes that meet the filtering criteria.
¶ Filters in Management > Native Templates
The filters available in the Native Templates section are:
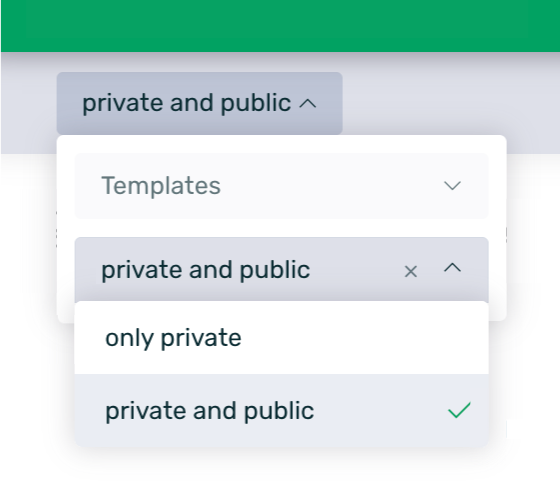
- Private only: This is a default filter. It returns those templates categorized as private. If we select the "Private and public" option we will see both private and public templates. You can see more information about this in this guide.
¶ Filters in Management > Events
In the Events section we can apply a filter so that EMMA returns one or other events: