¶ Media source management
Once the campaign has been created, it is necessary to add at least one source in order to generate the EMMA powlink.
The EMMA powlink is nothing more than a tracking link or click command in charge of making the relevant redirections to the URLs that have been previously configured in the campaign configuration.
Next we will see in more detail how to create new sources in EMMA, as well as how to edit, clone and delete them.
- Creating sources
- Edit and clone sources
- Delete sources
¶ Creating sources
To access campaign sources, select the sources option from the context menu of the campaign summary table.

| Name | Sets an identifying name for the source/tracking link. |
| Media Sources | Select a provider from the list. EMMA will notify the provider of all installs and in-app events coming from its traffic. You can select the Custom option if you do not want to notify any provider. If the provider you want to notify is not in the list, send your request to EMMA support and we will integrate it as a new partner. |
| Channel | Optionally you can set up a channel. This will allow you to later group your sources based on the linked channels. To create a channel just type the name of a new channel you want to create and click on Add “Channel name”.  If no channel is set, it will be categorized under the nomenclature channel No channel. The source can be edited at any time and the channel linked to the source can be modified or deleted. |
| Payment model | Select the payment model with which you want to measure the sale of traffic in the source report from the available options: - Fixed cost - CPC (Cost per click) - CPI (Cost per install) - CPA (cost per action): In case of selecting the CPA option, a new input called Event will be displayed from which we will be able to select the event in question under which we want the total cost of the campaign to be calculated. This event will be the same for all the sources of the same campaign and if we modify it in one source it will be automatically modified in all the others. |
| Cost | Fill in the payment option. If your campaign has no cost, fill it with a 0. |
| Limit VPN traffic | By default this option is disabled, but if we enable it, clicks coming from VPNs will be discarded, with the consequent discarding of traffic. |
| Click ID | If you are using a different SDK than EMMA you will have to change the click id. In this article you can see more information to know which sale ID to use in each case. If you are using EMMA's own SDK, this field does not need any change, it is left with the default configuration. |
| Customized suffix in short URL** | You can set a custom suffix for the short url. If you do not want to add one, leave this field empty and EMMA will create one randomly. Remember that this suffix must be composed of alphanumeric characters only. |
| Attribution | If a source for a Re-Targeting campaign is being set up, the desired attribution window must be configured, up to a maximum of 90 days. If no value is configured, EMMA’s default Re-Targeting attribution window will be used. |
| ¿Use deeplink landing page? | Enables the deeplink landing for cases where it is not possible to automatically launch the app with a Universal/App Link. For more information about deeplink landing, see our article on redirection for non-native browsers. |
| Deeplink route | Set up your deeplink route so that users who already have your app are redirected to a specific section of the app and not to the stores. Visit our article on how to use Powlink in EMMA to learn how to manage this technology in your campaigns. |
*In the case of self-attributed networks, such as Apple Search Ads, Google, Meta, TikTok, Twitter... the channel is applied automatically. These would be the channels for each of the networks:
- Apple Search Ads: Apple Search Ads
- Google: Google Ads UAC and Google Ads UACE
- Meta: Meta
- TikTok: TikTok
- Twitter: X (Twitter)
- Snapchat: Snapchat
- Petal Ads: Petal Ads - Generic
**EMMA offers the possibility to set a custom suffix to the short tracking url for a better identification of the same and also for the visibility that customers may have in case it is used in an SMS for example. In this way, you can set a suffix to the short URL of up to 10 alphanumeric characters in the field provided for this purpose.
In case you do not want to customize the suffix, simply leave this field empty and EMMA will generate a suffix randomly.
Let's see it with an example.
Let's suppose that an SMS is going to be sent and we want to track it. Setting the classic EMMA powlink in an SMS is not practical as it makes the SMS content too long, so we can choose to use the shortened powlink and customize it with the text sms for example. In this way, our EMMA short link will look like this:
We obtain a much more manageable link with the same functionality as the classic powlink, perfect to use in certain cases when a link with a shorter extension is needed.
Suffixes must be unique. If a suffix is already being used in another source, it cannot be reused in a new one.
¶ Edit and clone sources
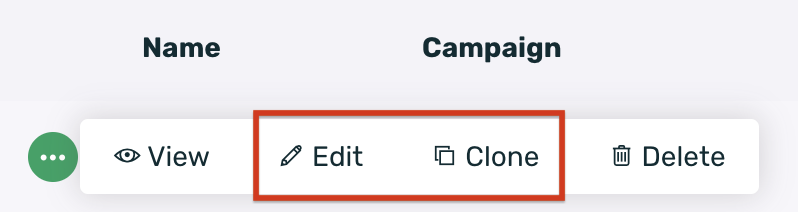
If it is necessary to make any modifications to the source or create another one with the same characteristics, it is possible to edit or clone the source quickly and easily.
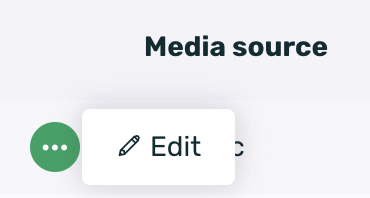
Just click on the context menu and select the specific Edit or Clone option.
If the source has been edited, the source creation form will open with the configuration that has been established in order to make the necessary modifications. Once the changes have been made, just click on the Save campaign button to save the changes made.
If the source has been cloned, the source creation form will open, copying the configuration of the cloned source. In this way, with this option we will be able to save time in the creation of sources that have the same configuration.
Note that the Edit and Clone sources process can be carried out both from the campaign grouping and from the channel grouping. You can see more info about grouping here.
¶ Eliminate sources
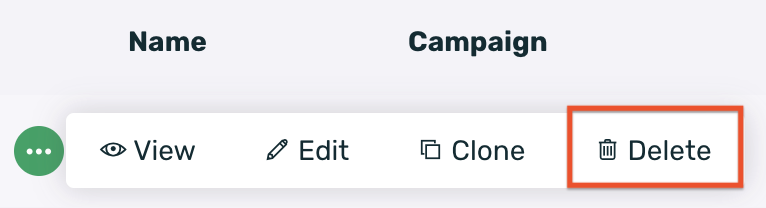
If we need to delete a source, we only have to go to the contextual menu and select the Delete option.
Once the Delete option is selected, the campaign will be immediately removed from the system.
The process of eliminating a source can be carried out from the grouping by campaigns and from the grouping by channels.
¶ Notify events to ad networks
From EMMA, we are integrated with hundreds of different advertising networks so that you can manage your recruitment campaigns or Re-Targeting easily from EMMA and the network can receive all the information of the campaign in its system automatically to manage and optimize it to achieve an optimal result.
In order for EMMA to notify the relevant networks, it is first necessary to create a tracking link from apptracker and link the appropriate provider (network). In this documentation you can see information on how to do this configuration.
¶ Setting up events to notify ad networks
Once the tracking link has been created, we must configure the events that we want to notify to the network in question. To do this we have to follow these steps:
-
Ask the network if it is possible to notify it of one or several events and under which name or id it wants to be notified.
-
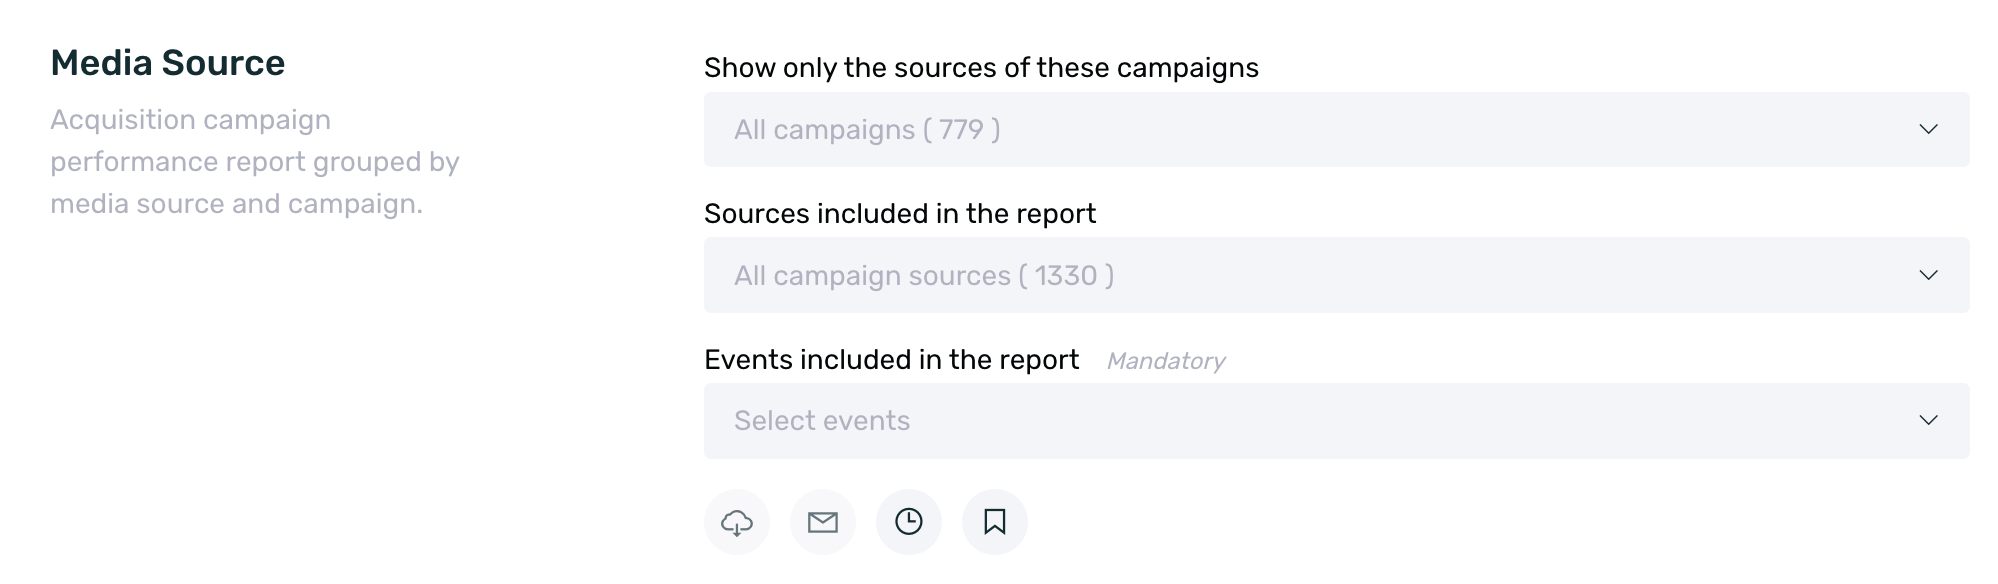
Access EMMA and go to the Acquisition > Media Sources section.
-
Find and edit the Media Source (supplier/network) you selected when creating the tracking link.
-
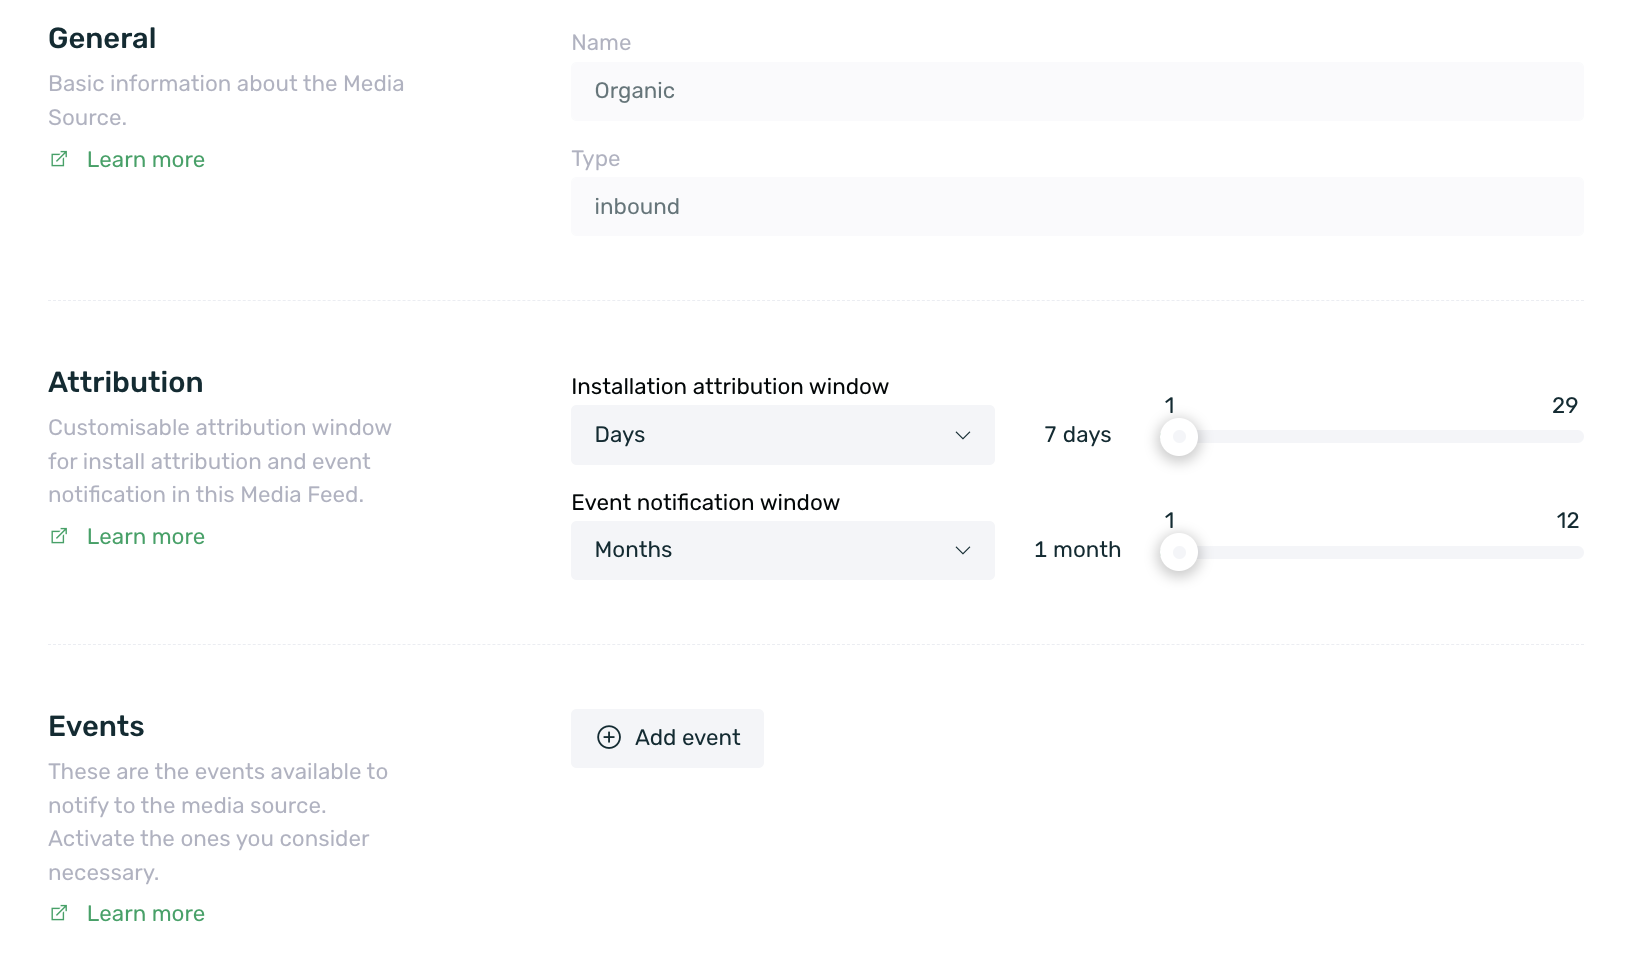
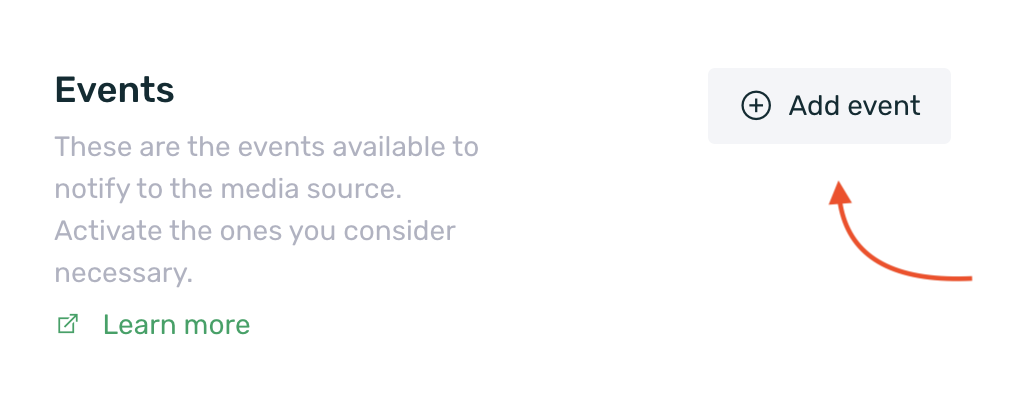
In the edit screen, find the Events section and click on the Add event button. Repeat this step as many times as you want to notify the network of events.
-
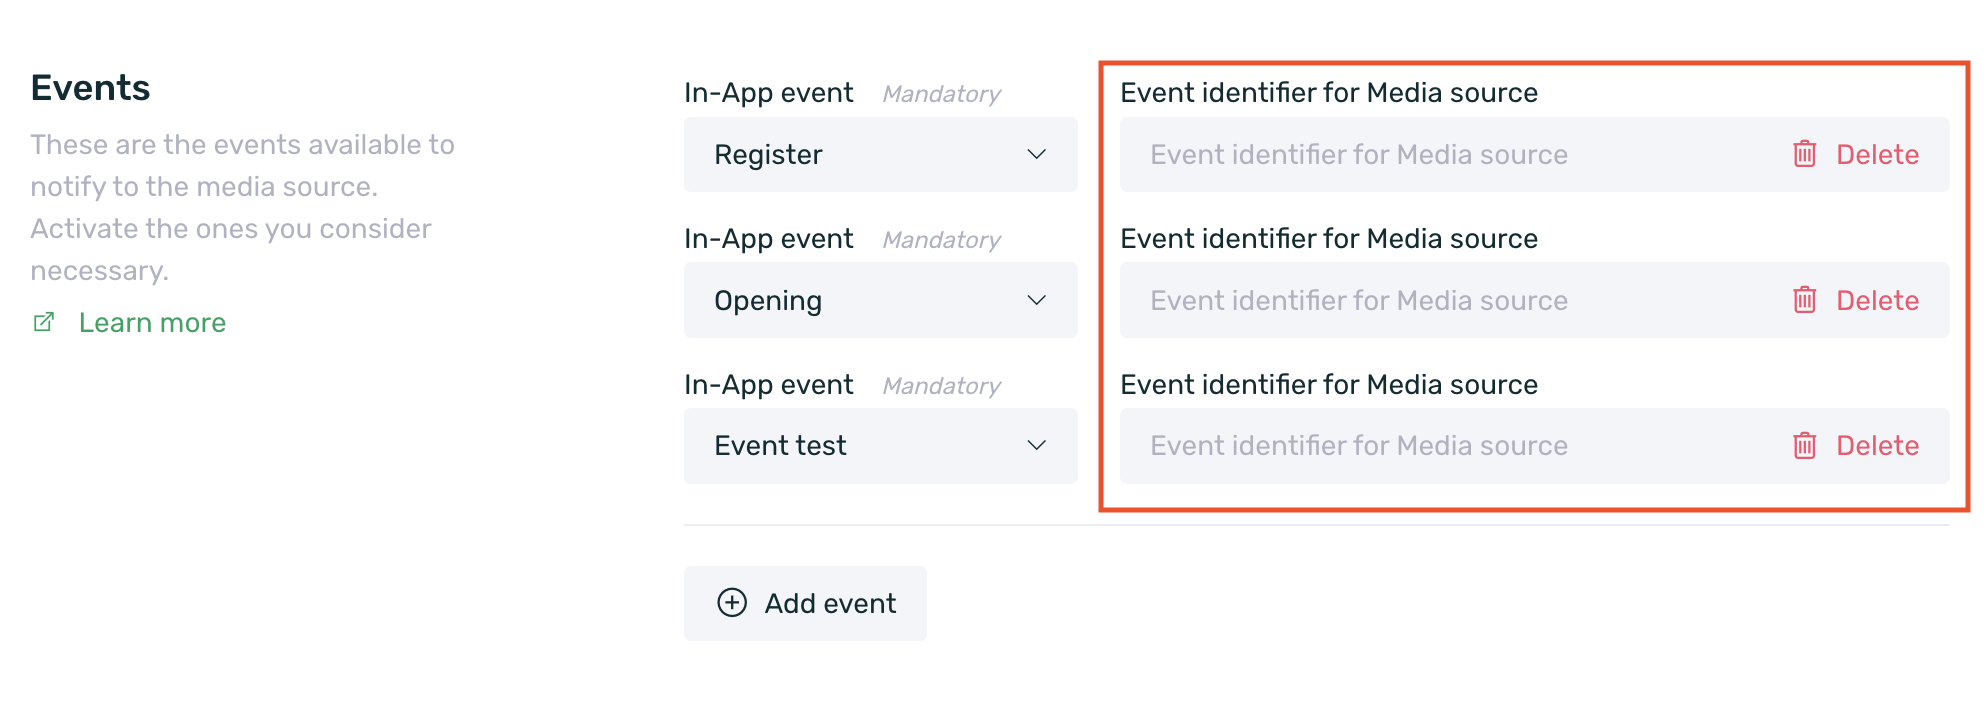
Select the events to be notified to the advertising network.
In the Event Identifier field for the Media Source configure the name under which the network is to receive the event. It can be a number, a word or an alphanumeric string. If left “blank”, exactly the name of the event that was set in EMMA when it was created will be reported. In this case, you can see shaded how it will be reported.
To find out if a provider/advertising network allows the sending of events or not, please contact our team at integraciones@emma.io to verify the configuration made in each case.
Once all these steps have been completed, it is only necessary to save the changes and the network will start receiving notifications each time a user attributed to your campaign performs the relevant events.
¶ Stop notifying events to ad networks
If we need to stop reporting an event to the network, we need to follow these steps:
- Go to Acquisition > Media Sources.
- Find and edit the media source (provider/network) in question.
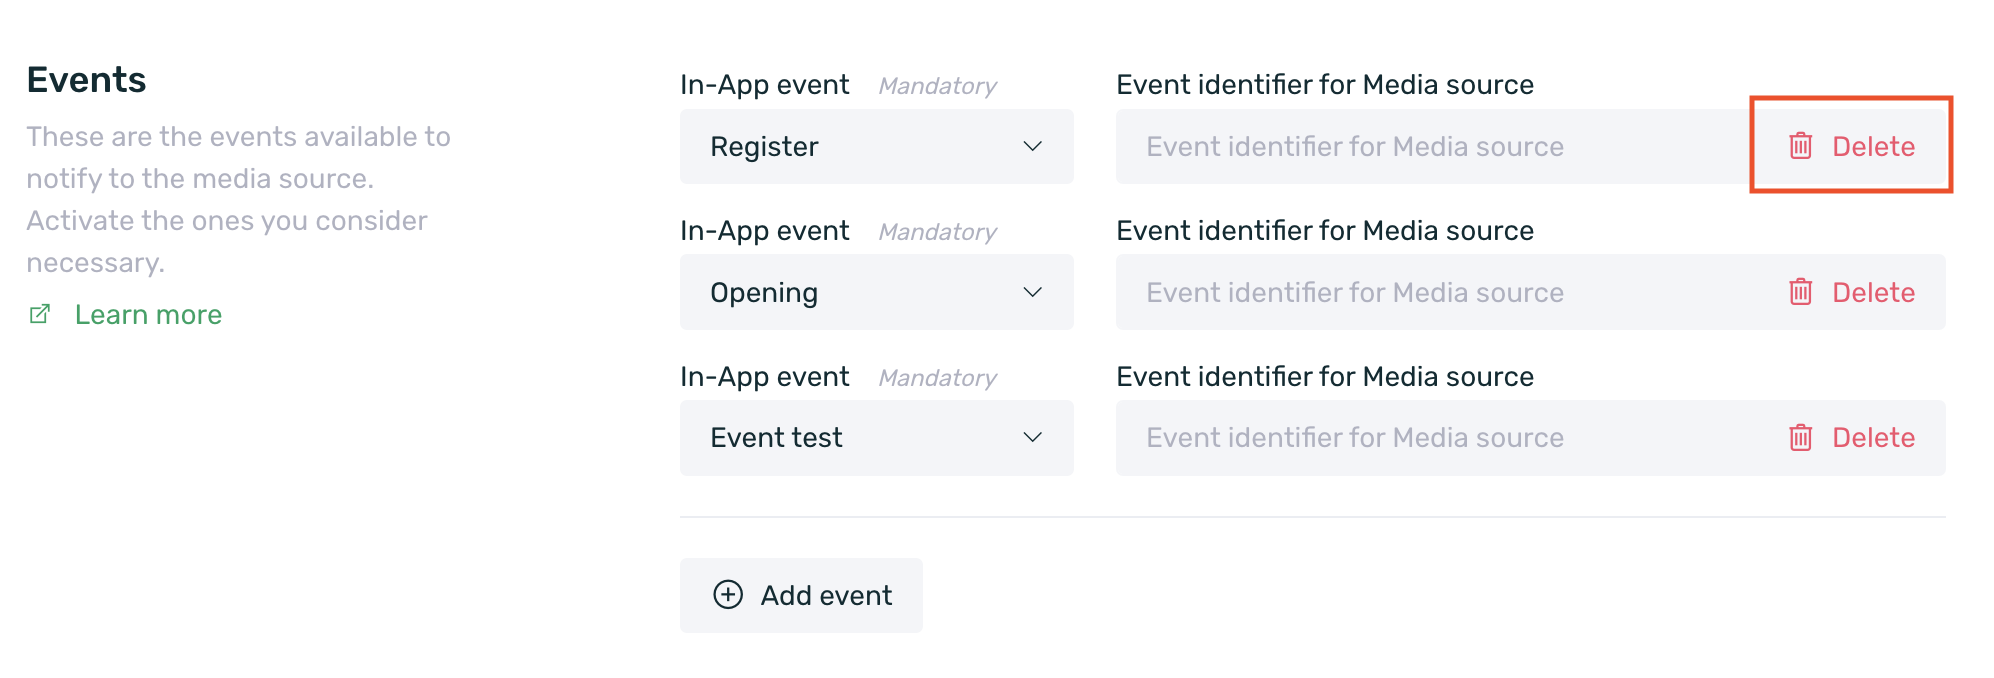
- In the edit screen go to the Events section and click on the Delete button for the event to stop notifying.
¶ AdNetwork Integration Guide
EMMA gives you feedback when a conversion is made coming from your traffic. When our tracking algorithm matches a click-through install, your system is notified thanks to a pre-configured callback.
To configure our callback URL you need to send an email to integraciones@emma.io with the following information:
- Your base URL of your api or your S2S postback.
- The parameters and dynamic or fixed values to append through the redirect. See this article to learn how to attach your parameters. It is highly recommended to append a unique device identifier in order to improve download reliability.
EMMA will send notifications with the structure of your base URL and optionally add the following GET parameters at the end, as well as:
http://yourbaseurl.com/event/70?click=43144397
In case you do not want to receive our GET parameters, please specify it in your e-mail.
Here you can see the IP's of our server in case you need to add them to your Whitelist.
- 5.9.147.231
- 213.239.208.15
¶ How to add custom parameters
You can add some GET parameters in the tracking URL in order to get more information about the origin of the click, allowing you to distinguish the name of the application or its category.
| Name | Description |
| exid | Custom network identifier as click ID |
| camid | Extra order identifier as campaign ID |
| dp | Device (iPhone, iPad, Galaxy S1, ...) |
| appname | Name of the app where the click is made |
| appcats | App category where the click is made |
| eat_sub[NUM] | Where [NUM] is an integer from 1 to 22. Extra parameter information available using the SDK function getUserInfo |
IMPORTANT: the eat_sub[NUM] parameter could be collected and exported through the API, but cannot be notified by the AdNetwork data returns. If you are an AdNetwork, use the rest of the parameters in the list to get the information returned.
A couple of examples are shown below:
- https://docs.emma.io/es/adquisicion/fuentes-de-medios#:~:text=http%3A//eat.emmasolutions.net%3Fentw%3D7b5b7e82e409be76027f5b688de2a67%26exid%3D[click_ID]%26dp%3D[device]%26eat_sub1%3D[extra_param1]%26eat_sub2%3D[extra_param2]
- https://docs.emma.io/es/adquisicion/fuentes-de-medios#:~:text=http%3A//eat.emmasolutions.net%3Fentw%3D7b5b7e82e409be76027f5b688de2a67%26exid%3D123456%26dp%3Diphone%26eat_sub1%3Dperformance%26eat_sub2%3Dzanox