¶ Introduction
The Importation feature in EMMA allows you to create an SFTP connection for sending information to EMMA at two levels:
-
User Tag Import: This import allows you to send multiple tags linked to each user (client ID). This information is stored in EMMA and linked to the corresponding user for later use in analytics, audiences, and communication personalization.
-
Audience Import: This import allows sending multiple tags linked to each user (client ID) to one or more audiences. The purpose of these tags is for communication personalization, which is why they are not stored in EMMA. They can only be used for personalizing communications, but not for analytics or creating audiences.
Next, we will see how to create the different imports.
¶ Import Configuration
To create a new import, simply follow these steps:
-
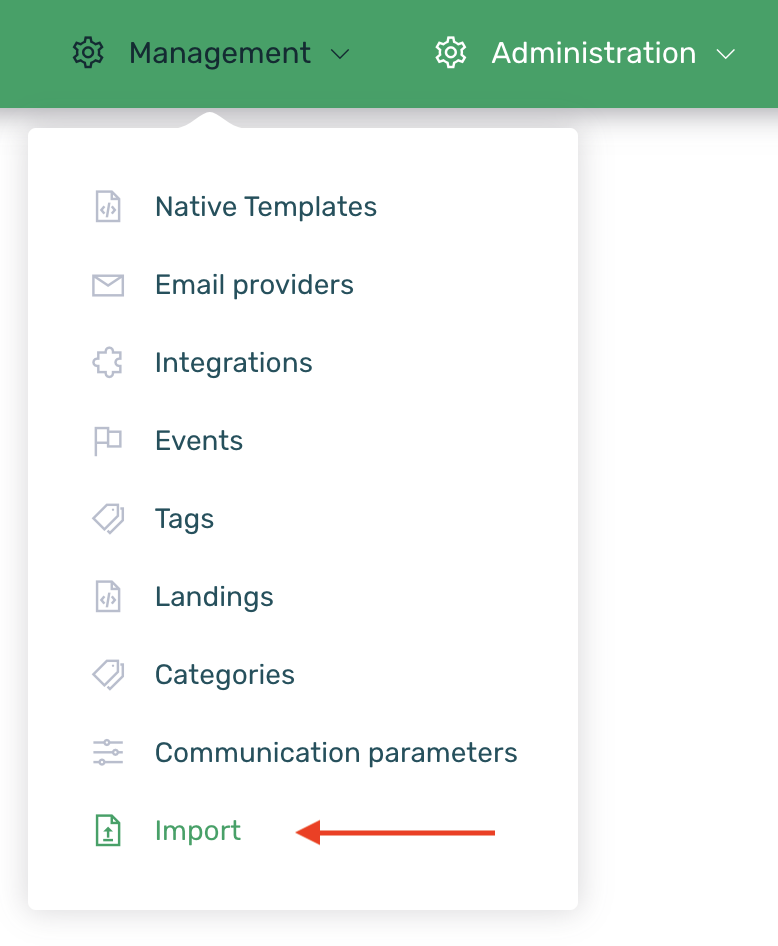
Log in to your EMMA account.
-
Go to the Management > Import section.
-
Click on the + New Import button.

-
Complete the creation form as detailed in the following steps:
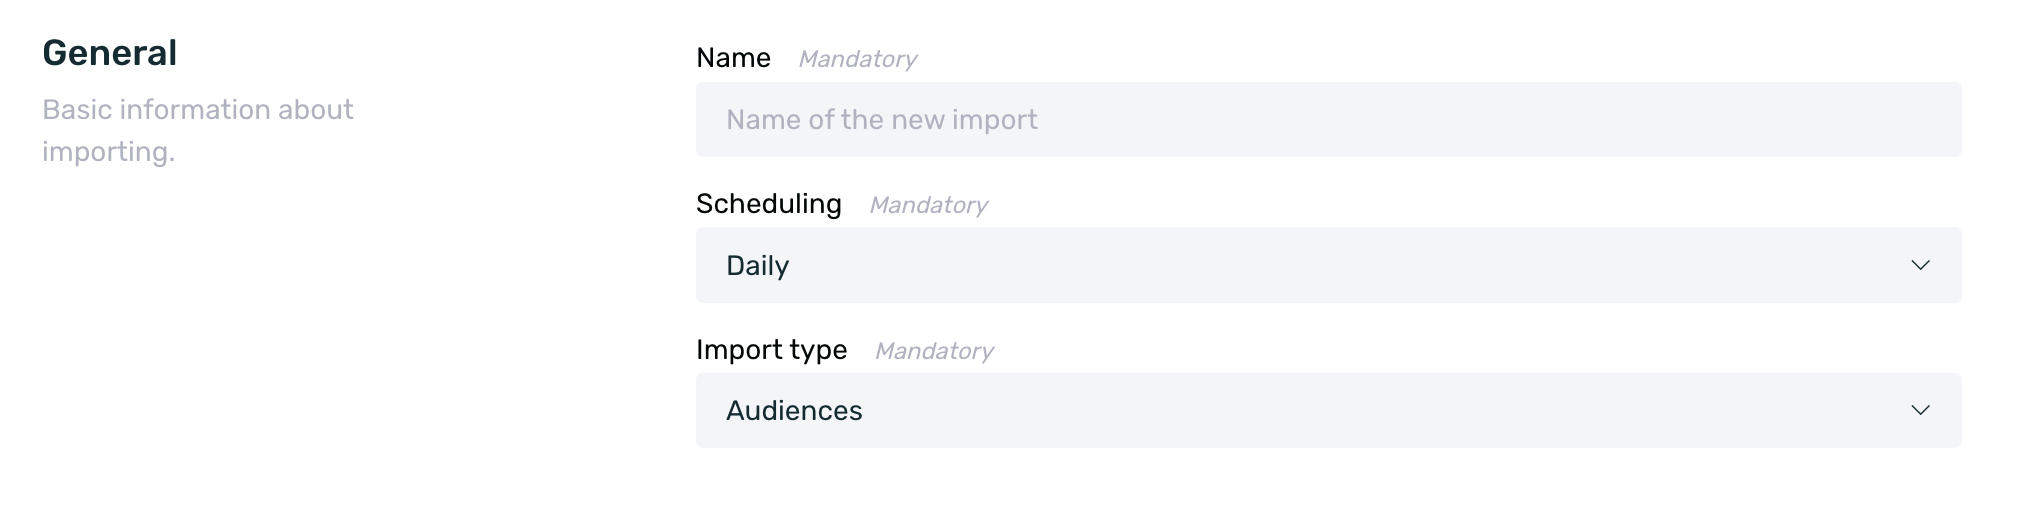
¶ General
In the General section, we will carry out the basic configuration for the import:
-
Name: Set an identifying name for the import. This name will help you easily identify and differentiate each of the created imports.
-
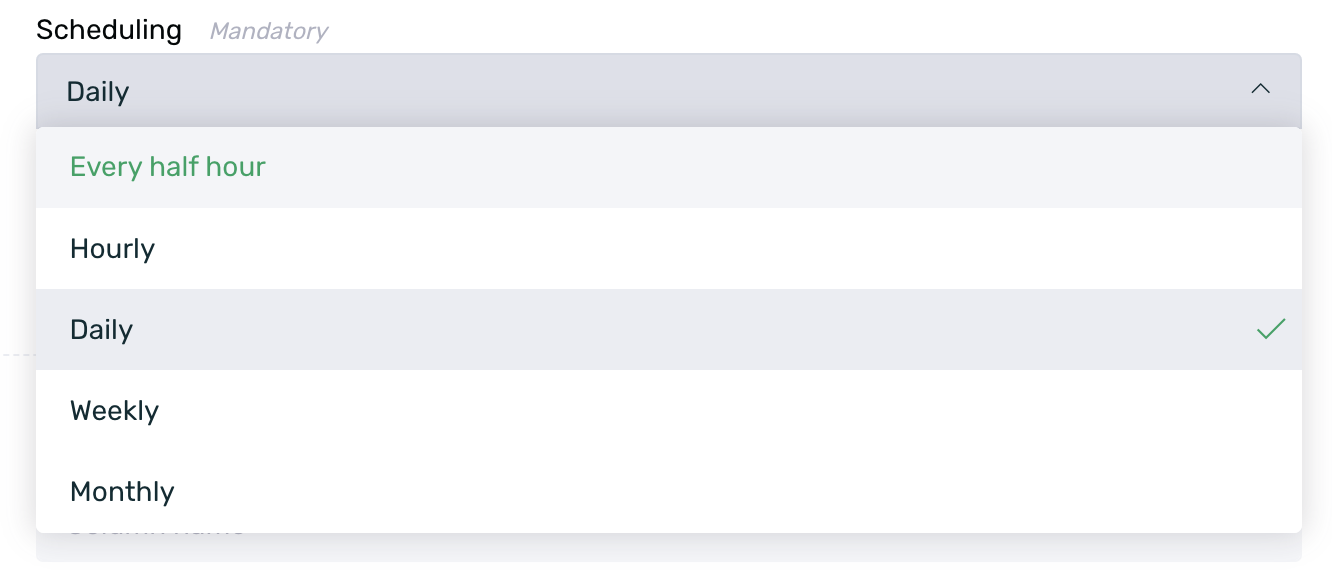
Scheduling: Select the frequency with which EMMA connects to the SFTP to retrieve information from the hosted CSV. The available options are:
- Every half hour
- Every hour
- Daily
- Weekly
- Monthly
-
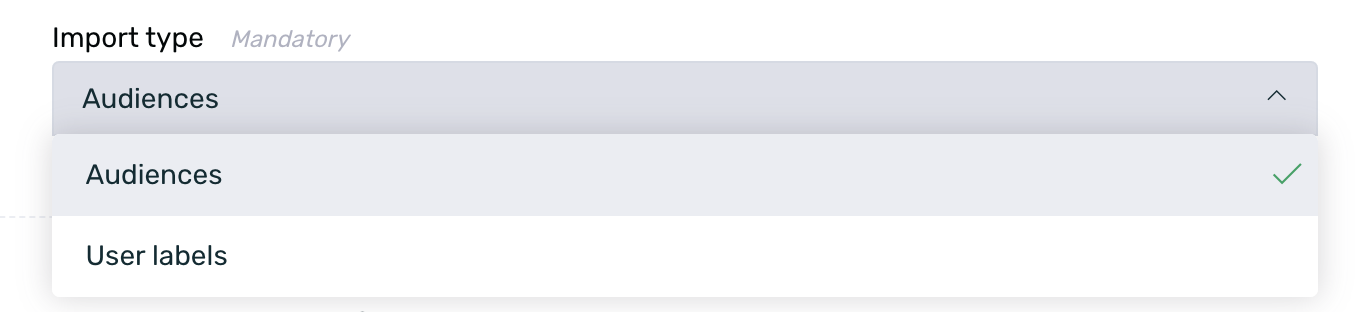
Import Type: Select whether it is an Audience import or User Tags import. Depending on the selected type, the structure of the CSV will be slightly different. You can see more information about the CSV structure here.
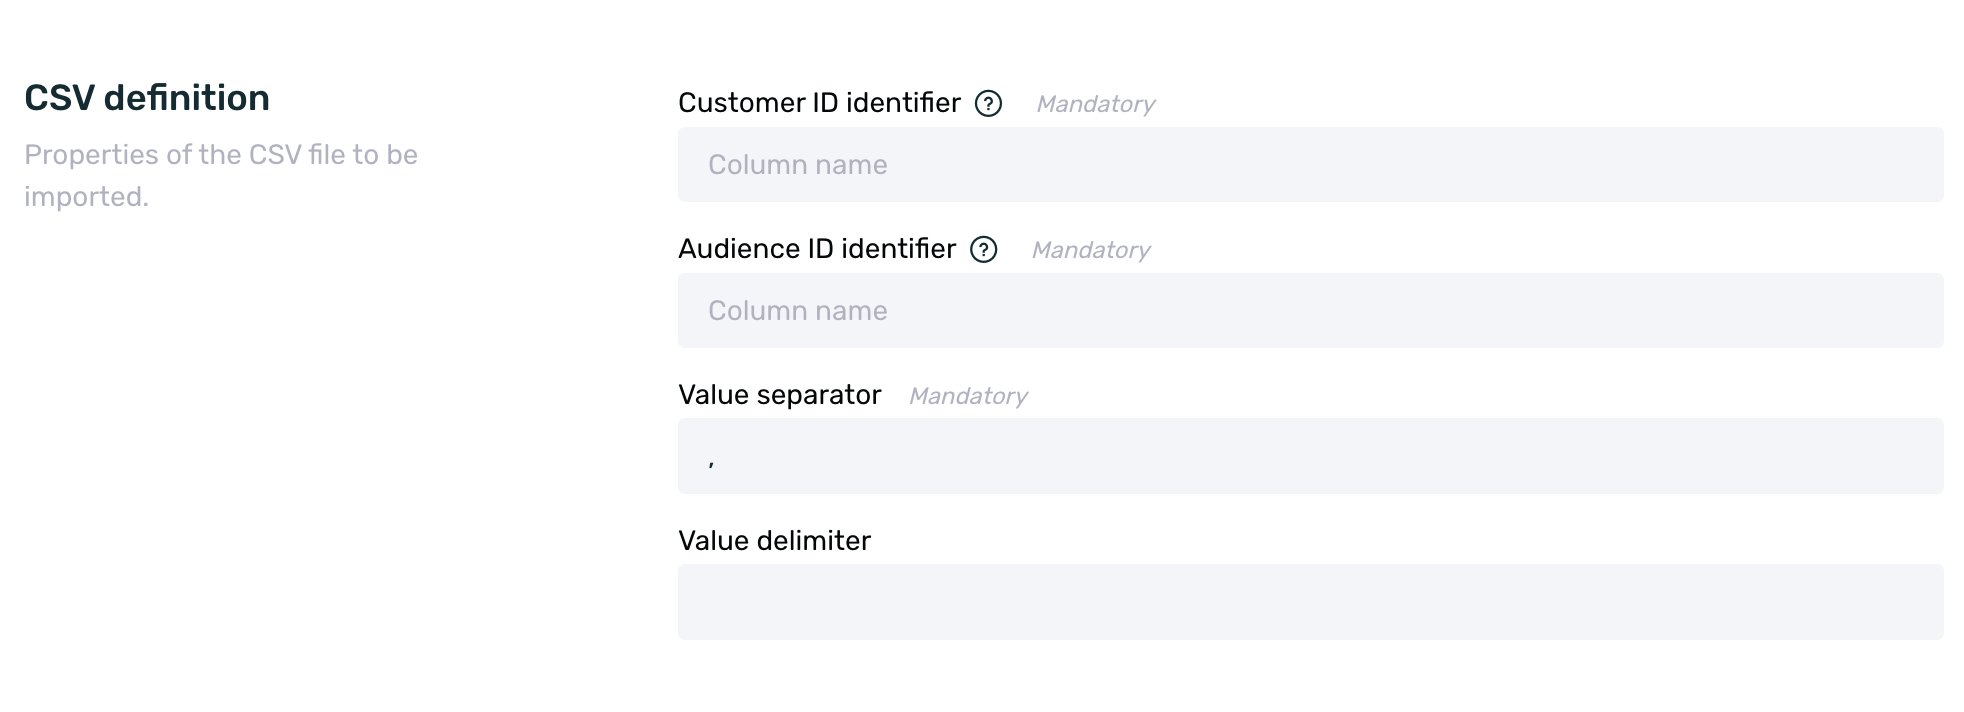
¶ CSV Definition
In the CSV Definition section, you will configure the specifics of the CSV file that you are going to import:
-
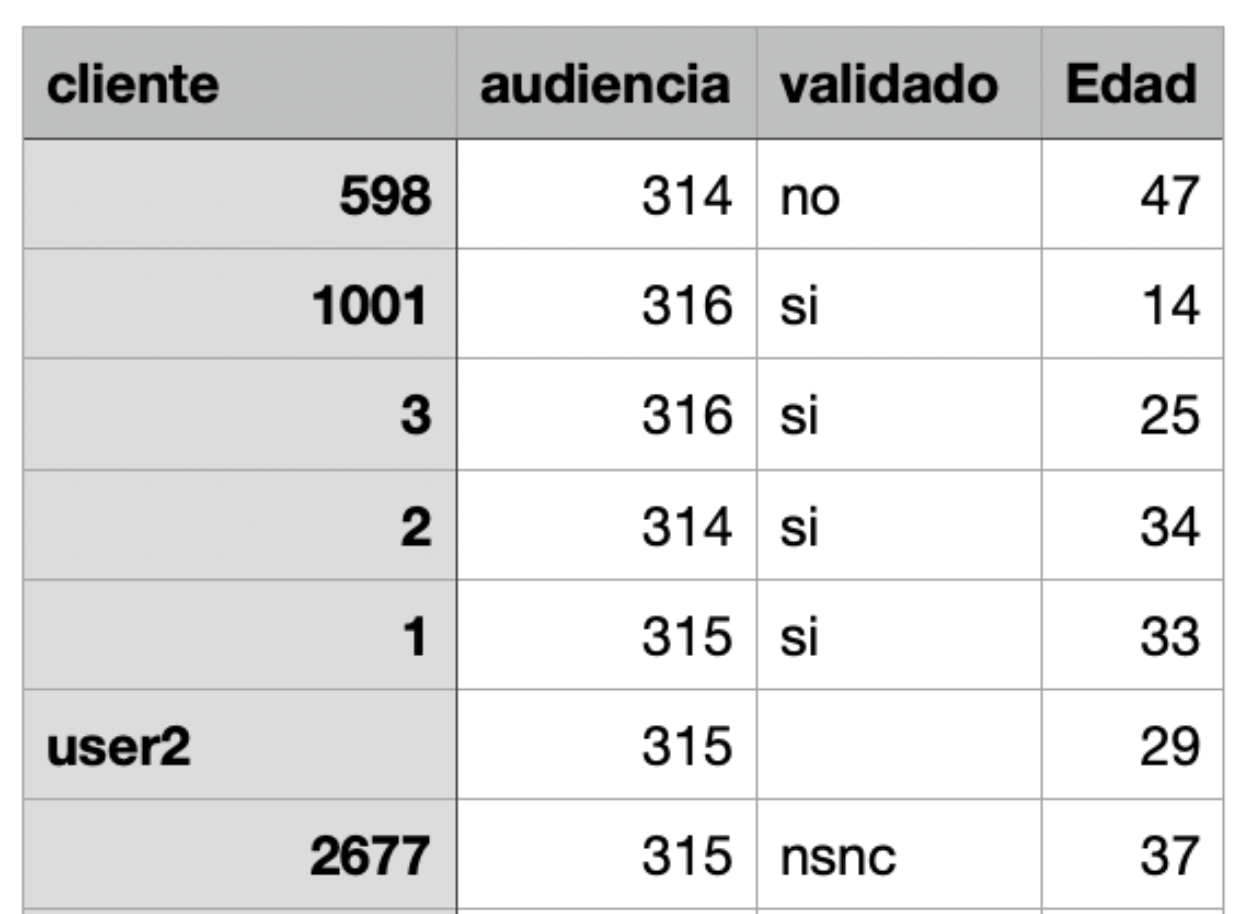
Customer ID Identifier: This is the name of the column in the CSV file to be imported that contains the customer ID information. In the example from the screenshot below, it would be cliente.
-
Audience ID Identifier: This field will only be displayed if we have selected the Audiences type. You need to specify the name of the column in the CSV file to be imported that contains the audience ID information. In the example, it would be audiencia.
-
Value Separator: This is the separator that was used when generating the CSV, typically ";" or ",".
-
Value Delimiter:
¶ Source Configuration
Finally, in the Source Configuration section, we will configure the SFTP details where the CSV to be imported is hosted:
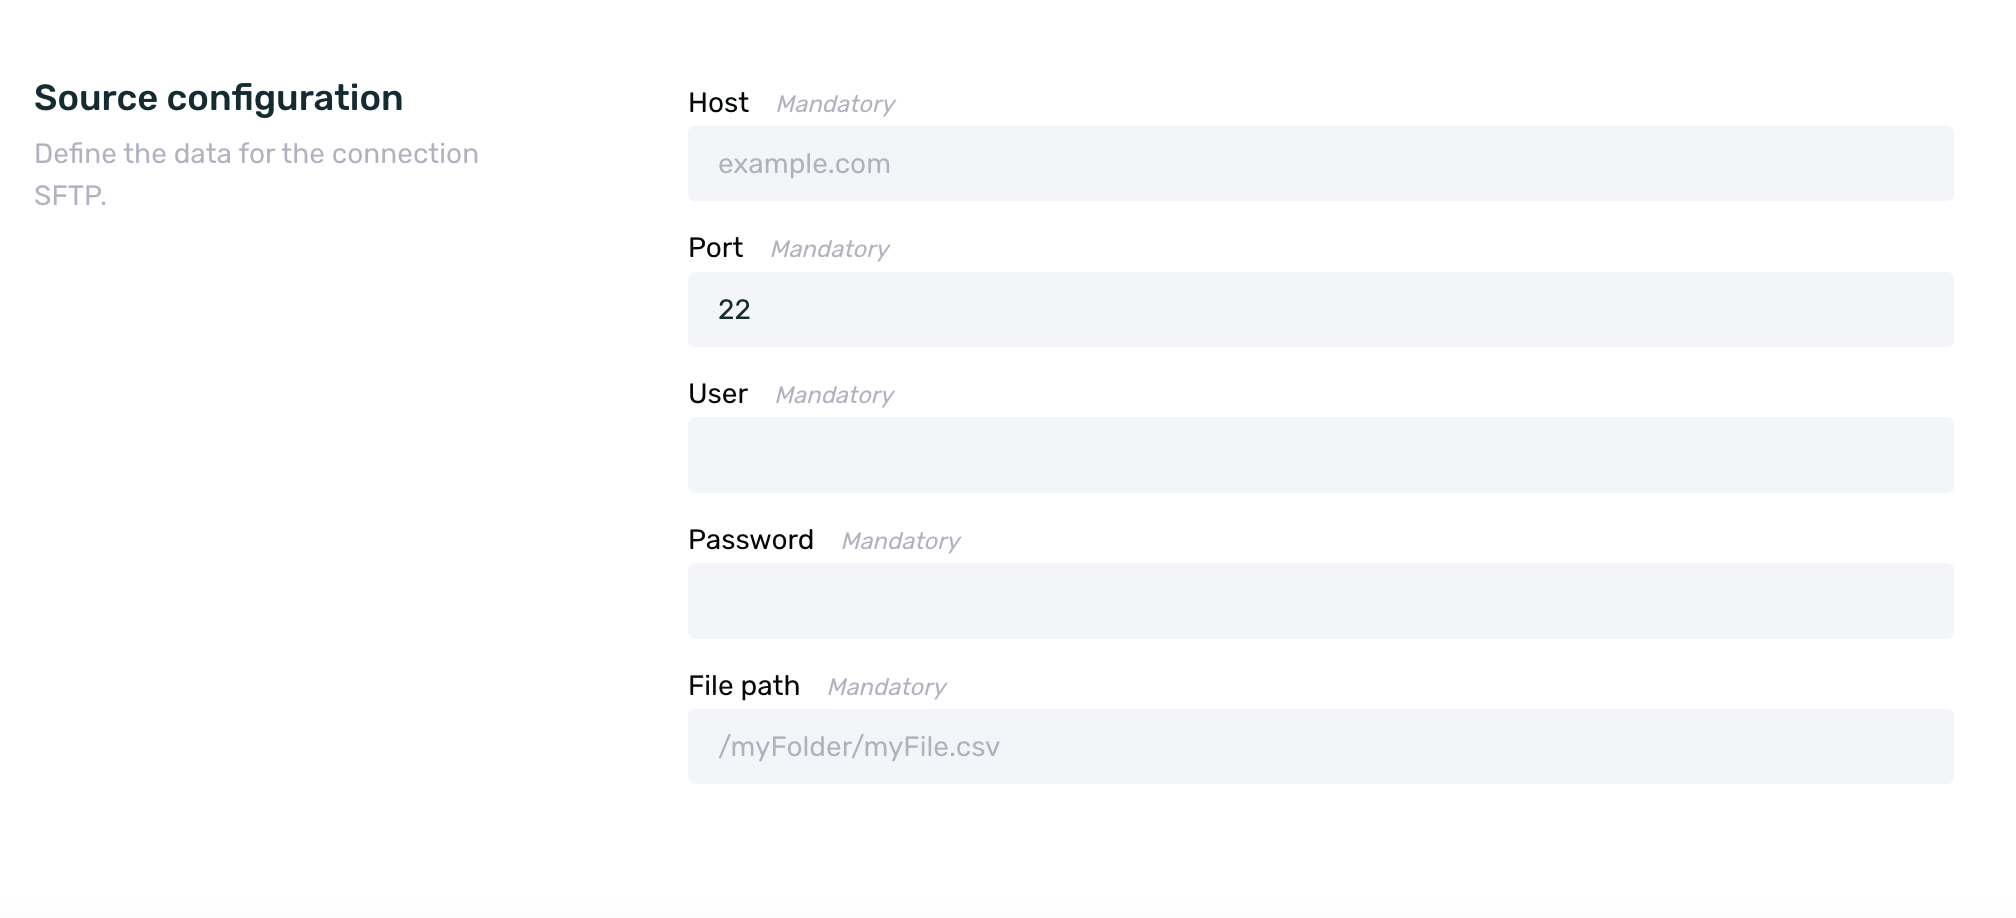
- Host: Set the SFTP domain where the CSV will be hosted.
- Port: Set the SFTP port where the CSV will be hosted.
- User: Set a user with access to the SFTP where the CSV will be hosted.
- Password: Set the password for the user with access to the SFTP where the CSV will be hosted.
- File Path: Set the file path.
¶ CSV Structure for Import
Depending on whether we are going to carry out an import of the type Audiences or User Tags, the structure of the CSV will differ accordingly. Below, we will review the details of each of the available options.
¶ CSV for audience import
The import file for Audiences must contain the following structure:

-
Client ID: The header of this column must have an identifying name, for example, id_client, client... or whatever you prefer. This column must contain all the client IDs that you want to link to each of the different audiences.
-
Audience ID: The header must have an identifying name, for example, audience, id_audience... or whatever you prefer. This column must contain all the audience IDs that you want to link to each of the client IDs.
Keep in mind that when selecting the Import Type Audiences, the imported CSV must contain the ID of the audience to which the information will be sent. Therefore, these audiences must be created in advance to know their respective IDs.
- Tags: Finally, a column with the corresponding header name should be added for each of the different tags that you want to send.
Remember that the tags sent in an import of the Audiences type will only be available to customize communications through the tag substitution engine.
¶ CSV for user tags import
The import file for User Tags must contain the following structure:
-
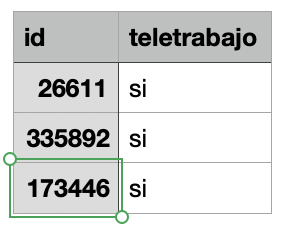
Customer ID: The header of this column must have an identifying name, for example, id_customer, customer... or any desired name. This column must contain all the customer IDs to which a tag with a value is to be linked.
-
Tags: Finally, a column with the corresponding header name must be added for each of the different tags that are to be sent.
Remember that the tags sent in a User Tags import will be stored in EMMA and linked to the corresponding customer IDs, and will be available for use in audience creation, analytics, or communication personalization through the tag substitution engine.
¶ Summary table of imports
As soon as you access the Import screen, you will see a summary table with information on all active imports.
If you have deleted any imports, they will not be displayed in the summary table or anywhere else on the dashboard.
In the summary table, you can see the following information:
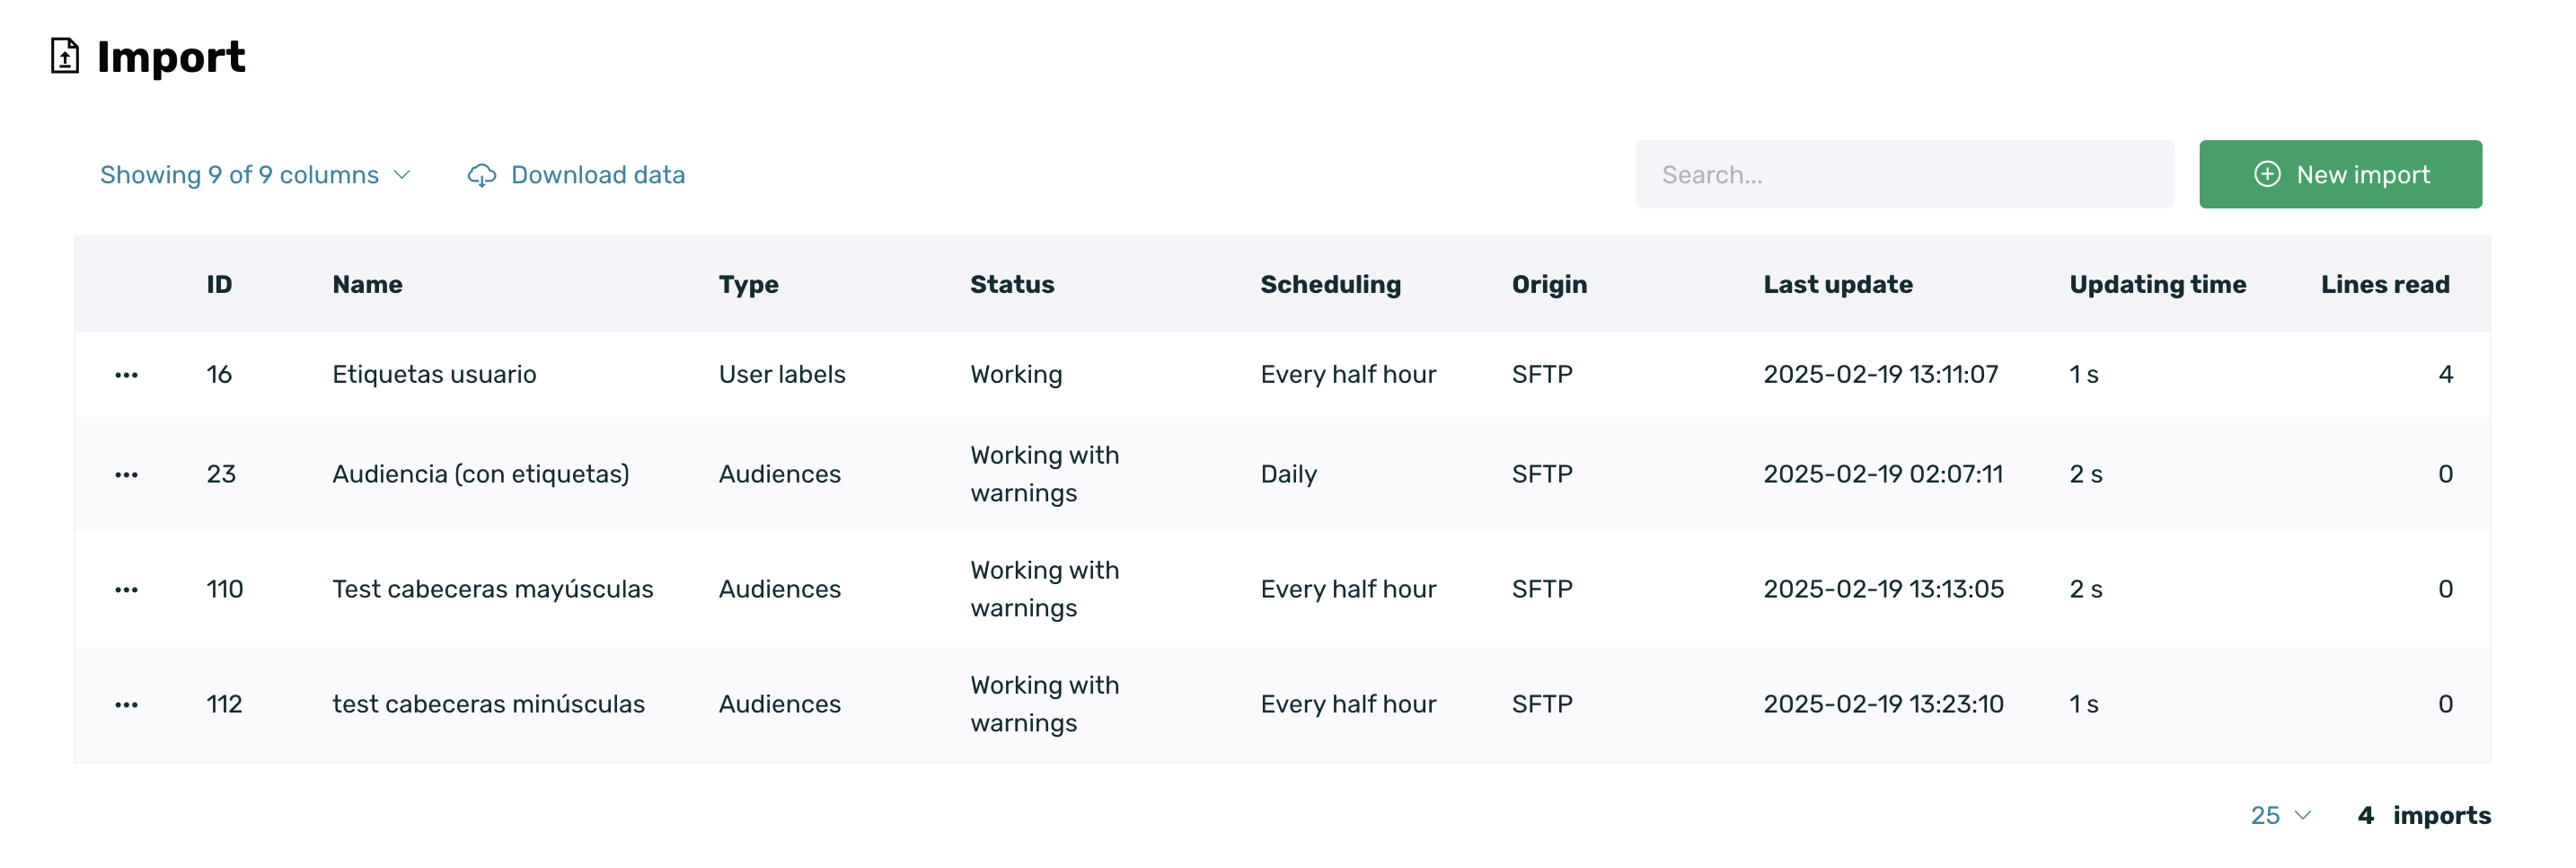
-
ID: Internal ID of the created import.
-
Name: Name assigned to the import at the time of creation.
-
Type: Type of import created. It can be:
- User Tags
- Audiences
-
Status: Current status of the import. The statuses can be:
-
Working: The import is functioning normally.
-
Working with warnings: The import is functioning but with some peculiarities. By clicking on the View option in the context menu, you can see more details about the warnings.

-
Error: The import could not be completed due to an error. If we access the import details (View option in the context menu), we can obtain more information about the error.

-
-
Scheduling: Scheduling set for each import. It can be:
- Every half hour
- Every hour
- Daily
- Weekly
- Monthly
-
Source: The source will always be SFTP.
-
Last update: Date of the last audience update based on the established scheduling.
-
Update time: Time taken to update the audience.
-
Lines read: Number of lines included in the imported CSV.
¶ View, edit, delete, and download an import
Imports allow certain actions to be performed on them once they are created. Below, we will go over each of these actions in detail.
¶ View an Import
To review the configuration of a specific import, simply click on the View option in the contextual menu.

This way, you will access a read-only view to review the configured settings.
¶ Edit an Import
Once an import has been created, it can be edited to make modifications. To do this, simply click on the Edit option in the contextual menu:

The only editable fields are:
- Name: You can make the necessary modifications to the import name to identify it more easily.
- Scheduling: You can modify the Scheduling field by selecting from the available options:
- Every half hour
- Every hour
- Daily
- Weekly
- Monthly
¶ Delete an Import
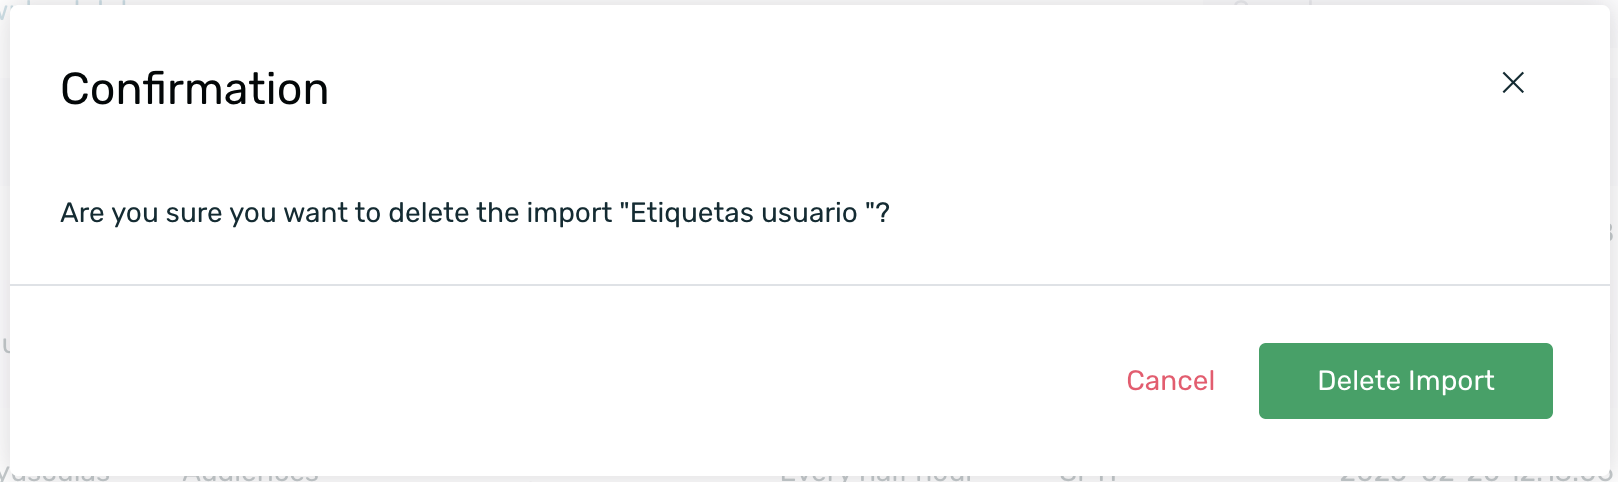
If you need to delete an import because it is no longer necessary or was incorrectly configured, simply click on the Delete option in the contextual menu.

A validation pop-up window will immediately appear to confirm whether you really want to delete the import or not.
¶ Download an import
If you need to review the last CSV processed by EMMA through the import, you can download it. There are three options:
-
Through the Download option in the contextual menu.

-
Through the Download file option from the View page of the import.
-
Through the Download file option from the Edit page of the import.

Whichever option is chosen, the CSV of the latest available import in EMMA will be downloaded.